Why Timely Shingle Roof Repairs Matter for Your Home
Your roof is your home’s first line of defense against rain, wind, sun, and snow. Damaged or missing shingles can quickly lead to leaks, mold growth, structural damage, and expensive repairs. Addressing issues early can save thousands in long-term costs and protect your property value.
At Heritage Roofing and Chimney, we understand the unique challenges homeowners face when maintaining a shingle roof, and this guide is built to help you navigate basic repairs with confidence.
Know the Warning Signs Before Damage Spreads
What Are the Common Signs You Need Shingle Roof Repair?
Before you grab your ladder, look for these common warning signs:
- Curling or buckling shingles
- Missing granules (bare-looking patches)
- Cracked, torn, or missing shingles
- Water stains on ceilings or attic wood
- Dark streaks or algae growth
- Exposed nails or loose flashing
If you’re seeing any of the above, especially after a storm, your roof is likely compromised. At Heritage Roofing and Chimney, we recommend a professional inspection for a complete diagnosis before starting repairs.
Safety First — Preparing to Repair a Shingle Roof
Must-Know Safety Tips Before You Get on the Roof
Roof work can be dangerous. Prioritize safety with the following:
- Only work in dry, mild weather
- Wear non-slip roofing boots
- Use a roof harness or fall protection system
- Set your ladder on solid ground and secure it
- Don’t work alone—have someone nearby
For taller or steep-sloped roofs, professional roofers like Heritage Roofing and Chimney should handle the work.
Tools and Materials You’ll Need for DIY Shingle Repairs
Essential Tools List
- Roofing nails (galvanized preferred)
- Hammer or roofing nail gun
- Pry bar or flat crowbar
- Asphalt roof cement or sealant
- Replacement shingles
- Utility knife or roofing blade
- Ladder and safety gear
Having the right materials on hand will ensure your repair is both quick and effective.
3 Essential Guide: How to Repair a Damaged Shingle
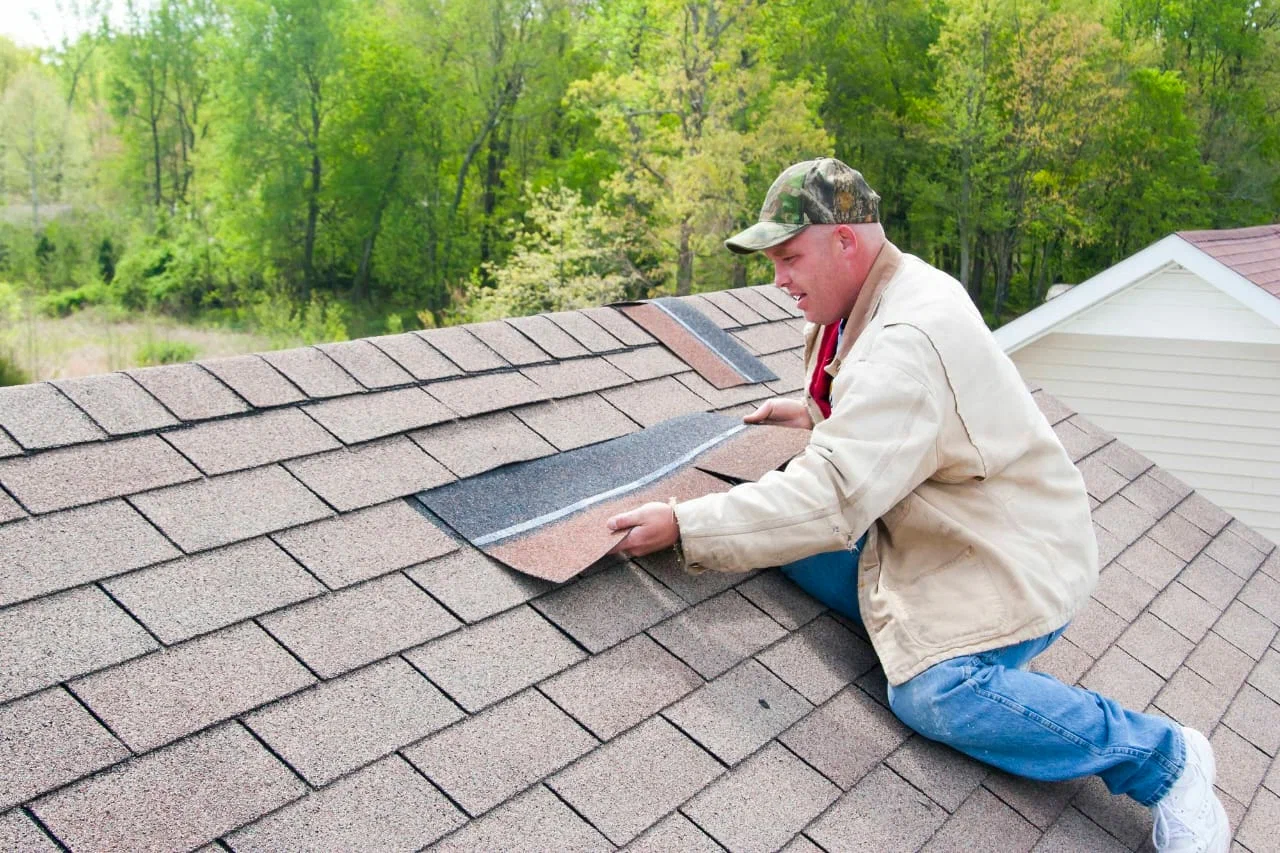
1 – Remove the Damaged Shingle
Carefully lift the surrounding shingles and use a flat pry bar to loosen the nails holding the damaged shingle. Slide it out gently to avoid damaging nearby shingles.
2 – Install the New Shingle
Slide a matching shingle into place. Align it properly and fasten it with roofing nails under the overlapping shingles.
3 – Seal the Shingle
Apply a bead of roof cement under the edges of the surrounding shingles to secure them and prevent wind lift.
Heritage Roofing and Chimney recommends using high-quality asphalt shingles rated for your region’s weather for lasting results.
Tips for Matching Shingles Seamlessly
Finding the Right Shingle Type and Color
Use leftover shingles from your original installation, or take a sample to your local home improvement store to match color and texture. Keep in mind:
- Older shingles may fade due to sun exposure
- Different manufacturers may have slightly varied patterns
- Consider replacing the entire section for better visual blending
If your roof is more than 15–20 years old, patching may not be enough, a roof replacement consultation from Heritage Roofing and Chimney may be the smarter long-term solution.
When to Call in the Pros Instead of DIY
Know Your Limits
Some roofing issues demand expert attention:
- Widespread damage over large sections
- Sagging or soft spots on the roof deck
- Flashing failures around chimneys or vents
- Repeated leaks in the same area
DIY repairs are great for small problems, but serious issues can worsen if not handled properly. At Heritage Roofing and Chimney, we provide comprehensive roof inspections and repairs that extend the lifespan of your entire roof.
The Cost of Shingle Roof Repairs: What to Expect
Minor repairs (1–5 shingles):
Moderate repairs (partial patching, flashing):
Major damage or leaks:
Your final cost depends on the materials used, the size of the area, and roof height/pitch. Always get a written quote. Heritage Roofing and Chimney offers free estimates and transparent pricing for all residential roofing services.
Long-Term Tips to Prevent Future Roof Damage
Roof Maintenance Best Practices
- Inspect your roof every 6 months
- Clean gutters and downspouts regularly
- Trim overhanging branches
- Check attic for water stains or mold
- Look for cracked caulking or exposed nails
Routine maintenance keeps your roof functional and avoids surprise repairs. Enrolling in a maintenance program with Heritage Roofing and Chimney can simplify this process and ensure your home stays protected year-round.
Why Choose Heritage Roofing and Chimney for Roof Repairs?
We’ve earned our reputation as a trusted name in roofing by providing:
- Licensed and insured technicians
- Local knowledge of weather-specific roofing needs
- Same-day emergency services
- Industry-grade materials and warranties
Whether it’s a small repair or a full roof replacement, Heritage Roofing and Chimney is the smart choice for homeowners who want dependable, long-lasting results.
Key Takeaways for Homeowners
Inspect your roof regularly for signs of wear
Use the proper tools and safety gear when repairing
Replace damaged shingles promptly
Hire professionals for structural or widespread damage
Trust Heritage Roofing and Chimney for expert roofing services
Final Thoughts: Protect Your Home One Shingle at a Time
A damaged shingle might not seem urgent, but it can quickly become a costly problem. With the right tools, safety measures, and step-by-step process, DIY roof repairs are possible for minor issues. But knowing when to call in the professionals is just as important.
Heritage Roofing and Chimney is here to help with everything from emergency leak repairs to full roof restorations.